The Best Homemade Play Dough
Making Play Dough at Home without Artificial Dyes or Seed Oils

Store-bought Play Dough
It took me awhile to jump on board the homemade play dough wagon. Play dough is cheap, so why make it at home? Well, let me tell you why. Store bought play dough is actually not that great. It has a ton of ingredients, but all the artificial dyes you can think of (and some you can’t even think of). If you have ever let your toddlers play with play dough, you know, without hesitation, they will put some of it in their mouth. And, even if it is disgusting, they may even keep doing it because, well, toddlers.
Making Play Dough at Home
So, I went ahead and tried making my own play dough, and now I will probably not ever buy store-bought again. It takes less than 10 minutes to make. We made it today while listening to the David soundtrack, and I only got a few songs in before it was done. Then, just give it a few minutes to cool and you are ready to go.
How to Make Play Dough
All you need is water, flour, salt, coconut oil, and cream of tartar. 5 ingredients. That’s it. Mix the flour, salt, and cream of tartar together in a pot. Then add in your coconut oil and warm water. Turn on heat to medium or medium low, and start continuously mixing. Keep mixing and don’t stop. When your concoction starts forming into a ball, go ahead and take it off the heat. I put mine onto a glass plate to let it cool. Once it’s cooled down and can be handled, you can then knead it for 1 to 2 minutes. This makes a giant chunk of play dough that is plenty enough for 3 or 4 children.

Adding Color to the Dough and Storage
Now you can choose how you want to add color. I like to use Watkins No Artificial Dye Food Coloring. This is probably the biggest difference that your kids will notice about homemade play dough. The colors will not be bright, and that is ok. I usually divide this amount of play dough into 4 sections and let each child choose what color they want to play with. I add about 15 drops to each section. I then fold the dye upon itself and let each child mix it in. When they are all done, it can be stored in a ziplock bag for more than a month. The heavy amount of salt prevents it from getting moldy.


The Best Homemade Play Dough
Equipment
- 1 Pot
Materials
- 2 cups flour
- 3/4 cup salt
- 4 teaspoons cream of tartar
- 2 cups warm water
- 2 Tablespoons coconut oil
Optional: Watkins No Artificial Dye Food Coloring
Instructions
- Stir together flour, salt, and cream of tartar into a pot.
- Next, add warm water and coconut oil and mix.
- Turn on heat to medium low, and stir continuously. The dough will thicken and slowly start lumping together and turn into a ball.
- Remove from heat and then place on a glass plate or bowl. Allow to cool.
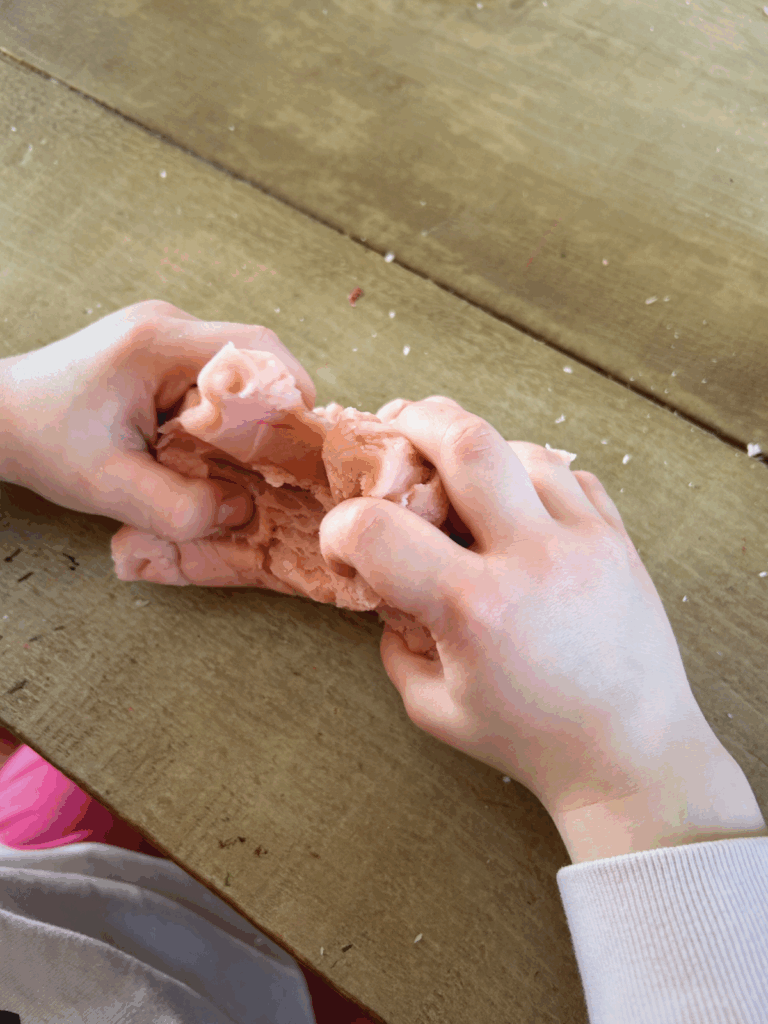
- Knead until smooth, which is usually 1 to 2 minutes.
- Divide into sections (can make 4 large sections)
- Slightly flatten dough with your finger to add in 10 -15 drops of color. Fold dough over color and knead until it is fully mixed in.
- Now you are ready to play. When you are done, store in a ziplock bag and it will last for more than a month.